Introducing CoreBookings by KRIYA. Same team. More power. Learn more →
View Categories

What are class types? How to edit or deactivate one

Class types are the categories you use when you build your timetable—for example Yoga, Pilates, or Reformer. In CoreBookings you manage them under Settings → Class Types, then choose the matching type when you create or edit a class on Class Schedule.

What are class types? #

Each class type has:

  • Name (required) — shown when you pick a session type on the schedule.
  • Short description — brief summary in the Class Types list.
  • Full description — optional longer copy.
  • Active / Inactive — inactive types are hidden from class creation but can remain linked to existing classes.

You do not need a separate pass for every class type. Create the types you need, schedule classes against them, and (optionally) restrict which passes can book which types.

CoreBookings Class Types settings page with list, search, status filter, and Add Class Type
Class Types list in Settings

What about class credits? #

Older setups sometimes set how many credits a booking deducted on each class type. CoreBookings does not set class credits on the class type.

Instead:

  • When you create a pass or membership, you set how many visits (credits) the client receives.
  • Booking a class normally uses one visit from an eligible pass.
  • To limit a pass to certain formats (for example advanced or expensive classes), use allowed class types on the pass—not a higher credit cost on the class type. See Passes and memberships for specific class types.

Open Class Types #

Where: Settings → Class Types

  1. Open Settings in the left sidebar.
  2. Click Class Types.

Use Search class types… and the Status filter (All / Active / Inactive) to find a type quickly. Totals at the top show how many types are active or inactive.

Add a class type #

  1. Click Add Class Type.
  2. Enter a Name (for example Yoga).
  3. Optionally add a Short Description and Full Description.
  4. Click Create.
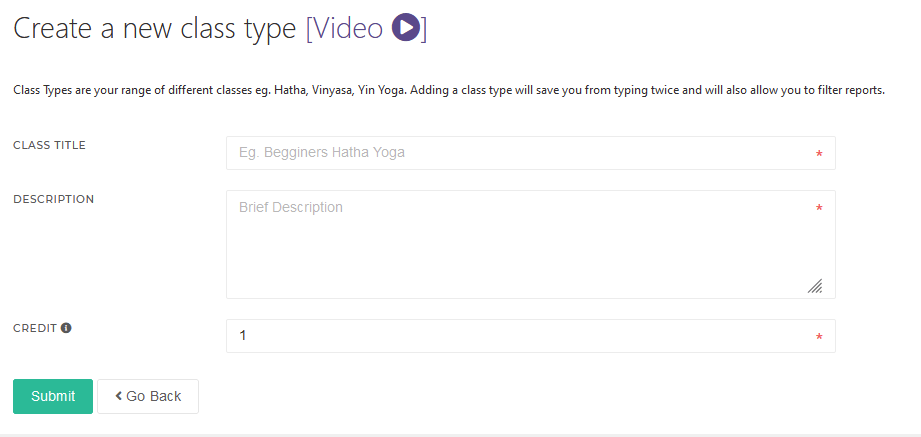
Add Class Type dialog with Name, Short Description, and Full Description fields
Add Class Type dialog

After creating a type, CoreBookings may offer a shortcut to Schedule a class. You can also use the calendar icon on an active row later.

Edit a class type #

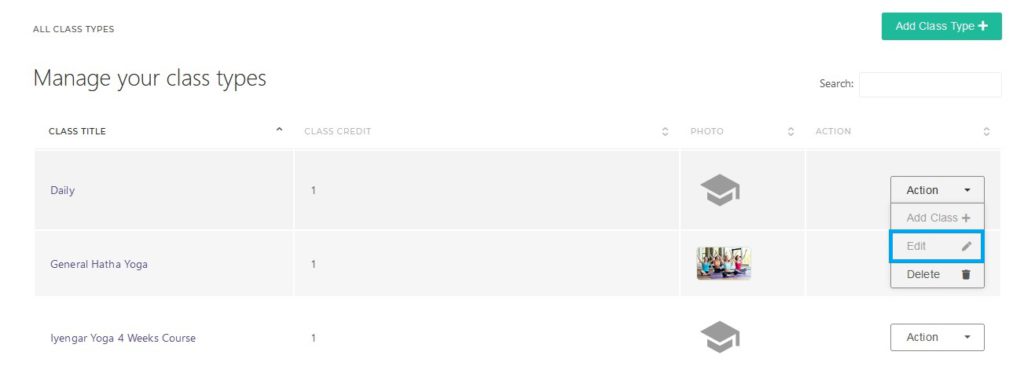
  1. On the Class Types page, click the row or the pencil Edit icon.
  2. Update the name or descriptions as needed.
  3. Optionally toggle Active in the edit dialog.
  4. Click Update.
Edit Class Type dialog with Active switch
Edit Class Type dialog

Deactivate or activate a class type #

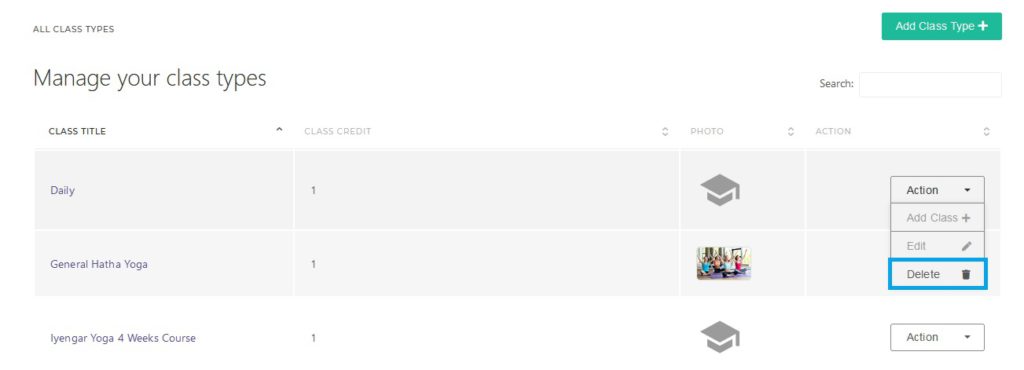
CoreBookings does not hard-delete class types from this screen. Use Deactivate (trash icon) when you no longer want a type available for new classes.

  1. Find the class type in the list.
  2. Click the red trash icon (or choose Deactivate from the mobile actions menu).
  3. Confirm: Deactivate "[name]"? It will no longer appear in class creation.

Inactive types stay available for existing scheduled classes. To bring a type back, open it and turn Active on, or use the green activate control on an inactive row.

Related help #